

Yes please!sirmorris wrote:I can post a 1:1 PDF of the board if that would help with alignment?
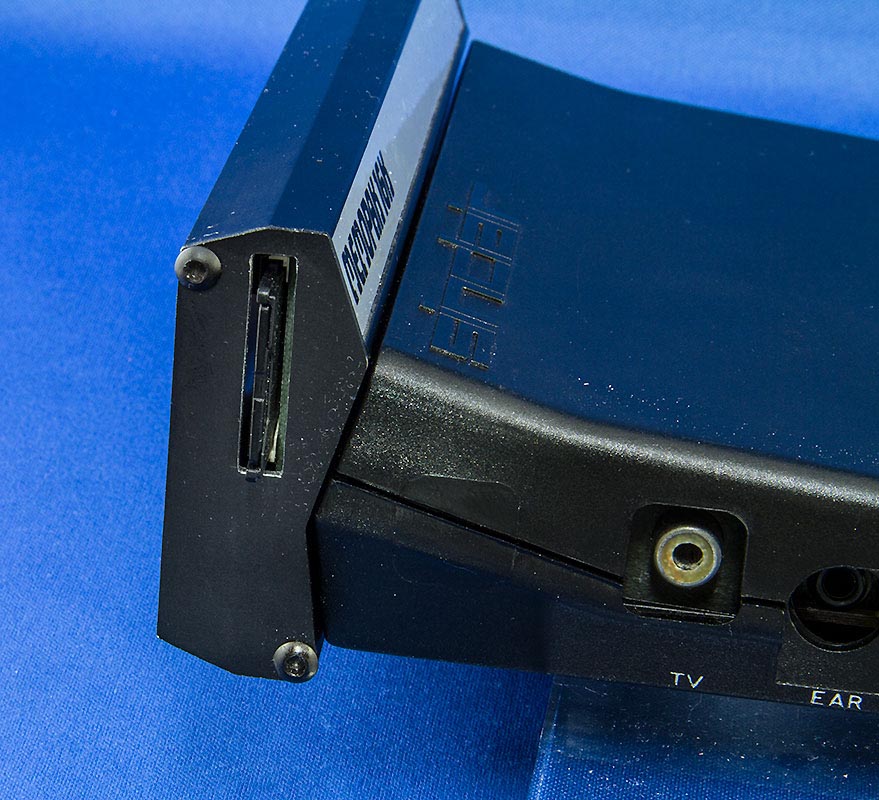
The majority of the work is done now, and all that's left is to decide whether to put the aforementioned holes in to make the activity lights visible, or not. I also have to decide on positioning of the board in relation of the case, then insert some packing to hold it in place so it doesn't slide about. I'm quite pleased with the slot, which came out well despite the aluminium end-cap being made of a fairly tough grade, and the black finish anodised on. I managed not to scratch it, but don't approach the job half-cocked, as you'll stuff it up. I used the pillar drill Dremel in the end with the end-cap held in a horizontal vice, and I was glad I did because the piece got quite hot during the drilling process. The anodising saved me some work, because paint would have bubbled at those temps, forcing me to break open the airbrush or a rattle can of enamel paint. Here she is freshly assembled and still covered in far too much dust from sitting in the workshop most of the afternoon.
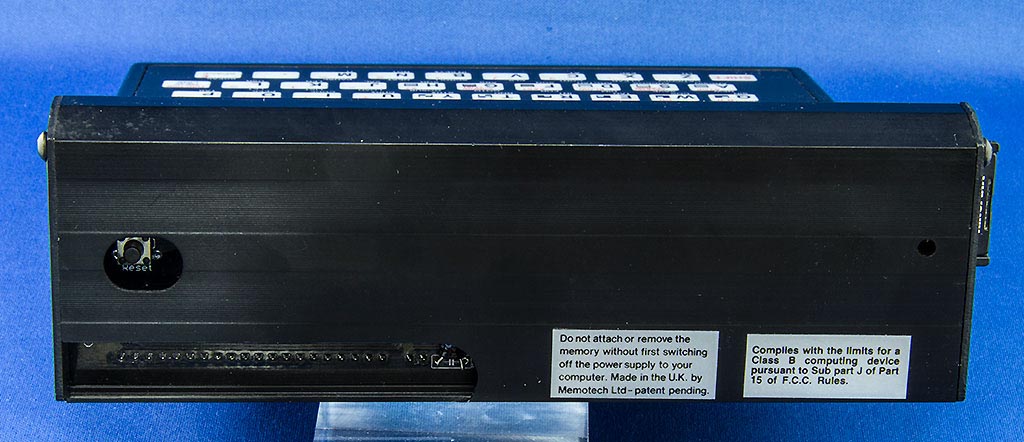
Charlie, you did a bang-up job of locating the reset switch in the former dip-switch cut-out, as well as sizing the board to the exact dimensions. Give yourself a pat on the back for that, as well as what the board does once it's plugged in... apparently. I'm ashamed to say that I've buried the instructions and haven't had more than a few minutes to play with it (or Zed2) since it arrived. I think this hardware project is pretty much done now, so I'll be getting some software lined up and start re-learning BASIC soon. I've decided to re-cap my Speccy and A1200 in the meantime, as well as repair the logic module of my fridge freezer - a job I've been putting off now for a couple of years, having sourced a lesser model board to get the fridge up and running again... Now. Who wants to buy a naked Memopak 16k with added spider's web and optional dessicated spider's corpse that is available on request?